Are you ready to have your roof replaced? If you’ve never had to replace your roof, you may not know all the steps that go into doing so. There are several basic steps to replacing a roof, and if you understand what’s involved, you’ll find it easier to find a contractor who will do the best job. Here’s your guide to what’s involved with a roof installation.
Tearing Off the Old Roof
In most cases, you’ll need to remove your old roof before the new one can be installed. Usually, new roof installation can’t be adequately done unless the old one is removed first. This is one of the most time-consuming parts of the job, as every shingle needs to be removed from the structure. There are some unique cases where a roof can be installed over an older roof. For example, if you have an existing shingle roof and you’re looking to install a new metal roof on your home, you may be able to install it on top of the old roof, thanks to the higher structure. You’ll need to ask your contractor about this to see what can be done in your case.
Installing the Drip Edge
Now the old roof has been removed, you’ll be able to start installing the new roof. This typically starts with the drip edge. This is something that’s installed on the eaves of your roof before you roll out the underlayment. It will finish your roof well, prevent new shingles from curling, and keep water off the fascia boards. Typically you don’t have to have a drip edge on your roof, but it’s an excellent idea for most roofs as it finishes the look off and keeps it in good condition.
Roll Out Underlayment
This is the first layer of your roof. It has to be installed; without it, ice dams can start to form in the winter, stopping strong winds from blowing water in through the roof. You’ll see that the material has a sticky surface on the underside, so it simply needs to be laid out and tucked down to the roof deck. As such, it’s your first layer of protection. It’s usually better to install the underlayment when you have warmer weather, as it helps it stick better. You may need some nails to keep it down fully if it’s colder.
Covering With Felt or Tar Paper
The next step for your roof is to cover it in felt or tar paper. These are the same product, although you may see the names used interchangeably. This is installed to keep water out of the roof and improve your roof’s fire rating. This is installed by rolling it out in short sections and stapling it onto the roof deck. All sections should be overlapped to offer full coverage.
Waterproofing the Valleys
The valleys on your roof will be more susceptible to water damage, as rainwater will run down and away from the building. As such, you’ll need extra waterproofing for them on top of the underlayment and felt paper. This is installed similarly, so they should be covered.
Start Roof Installation With Starter Shingles
Most homeowners will choose shingles for their roofs, so this is how the material will be installed. Roofers will start by installing ‘starter shingles.’ These are the first row of flat shingles that are only half as wide as regular shingles. They are the barrier that stops water from getting in between the first shingles, so they’re an essential first step.
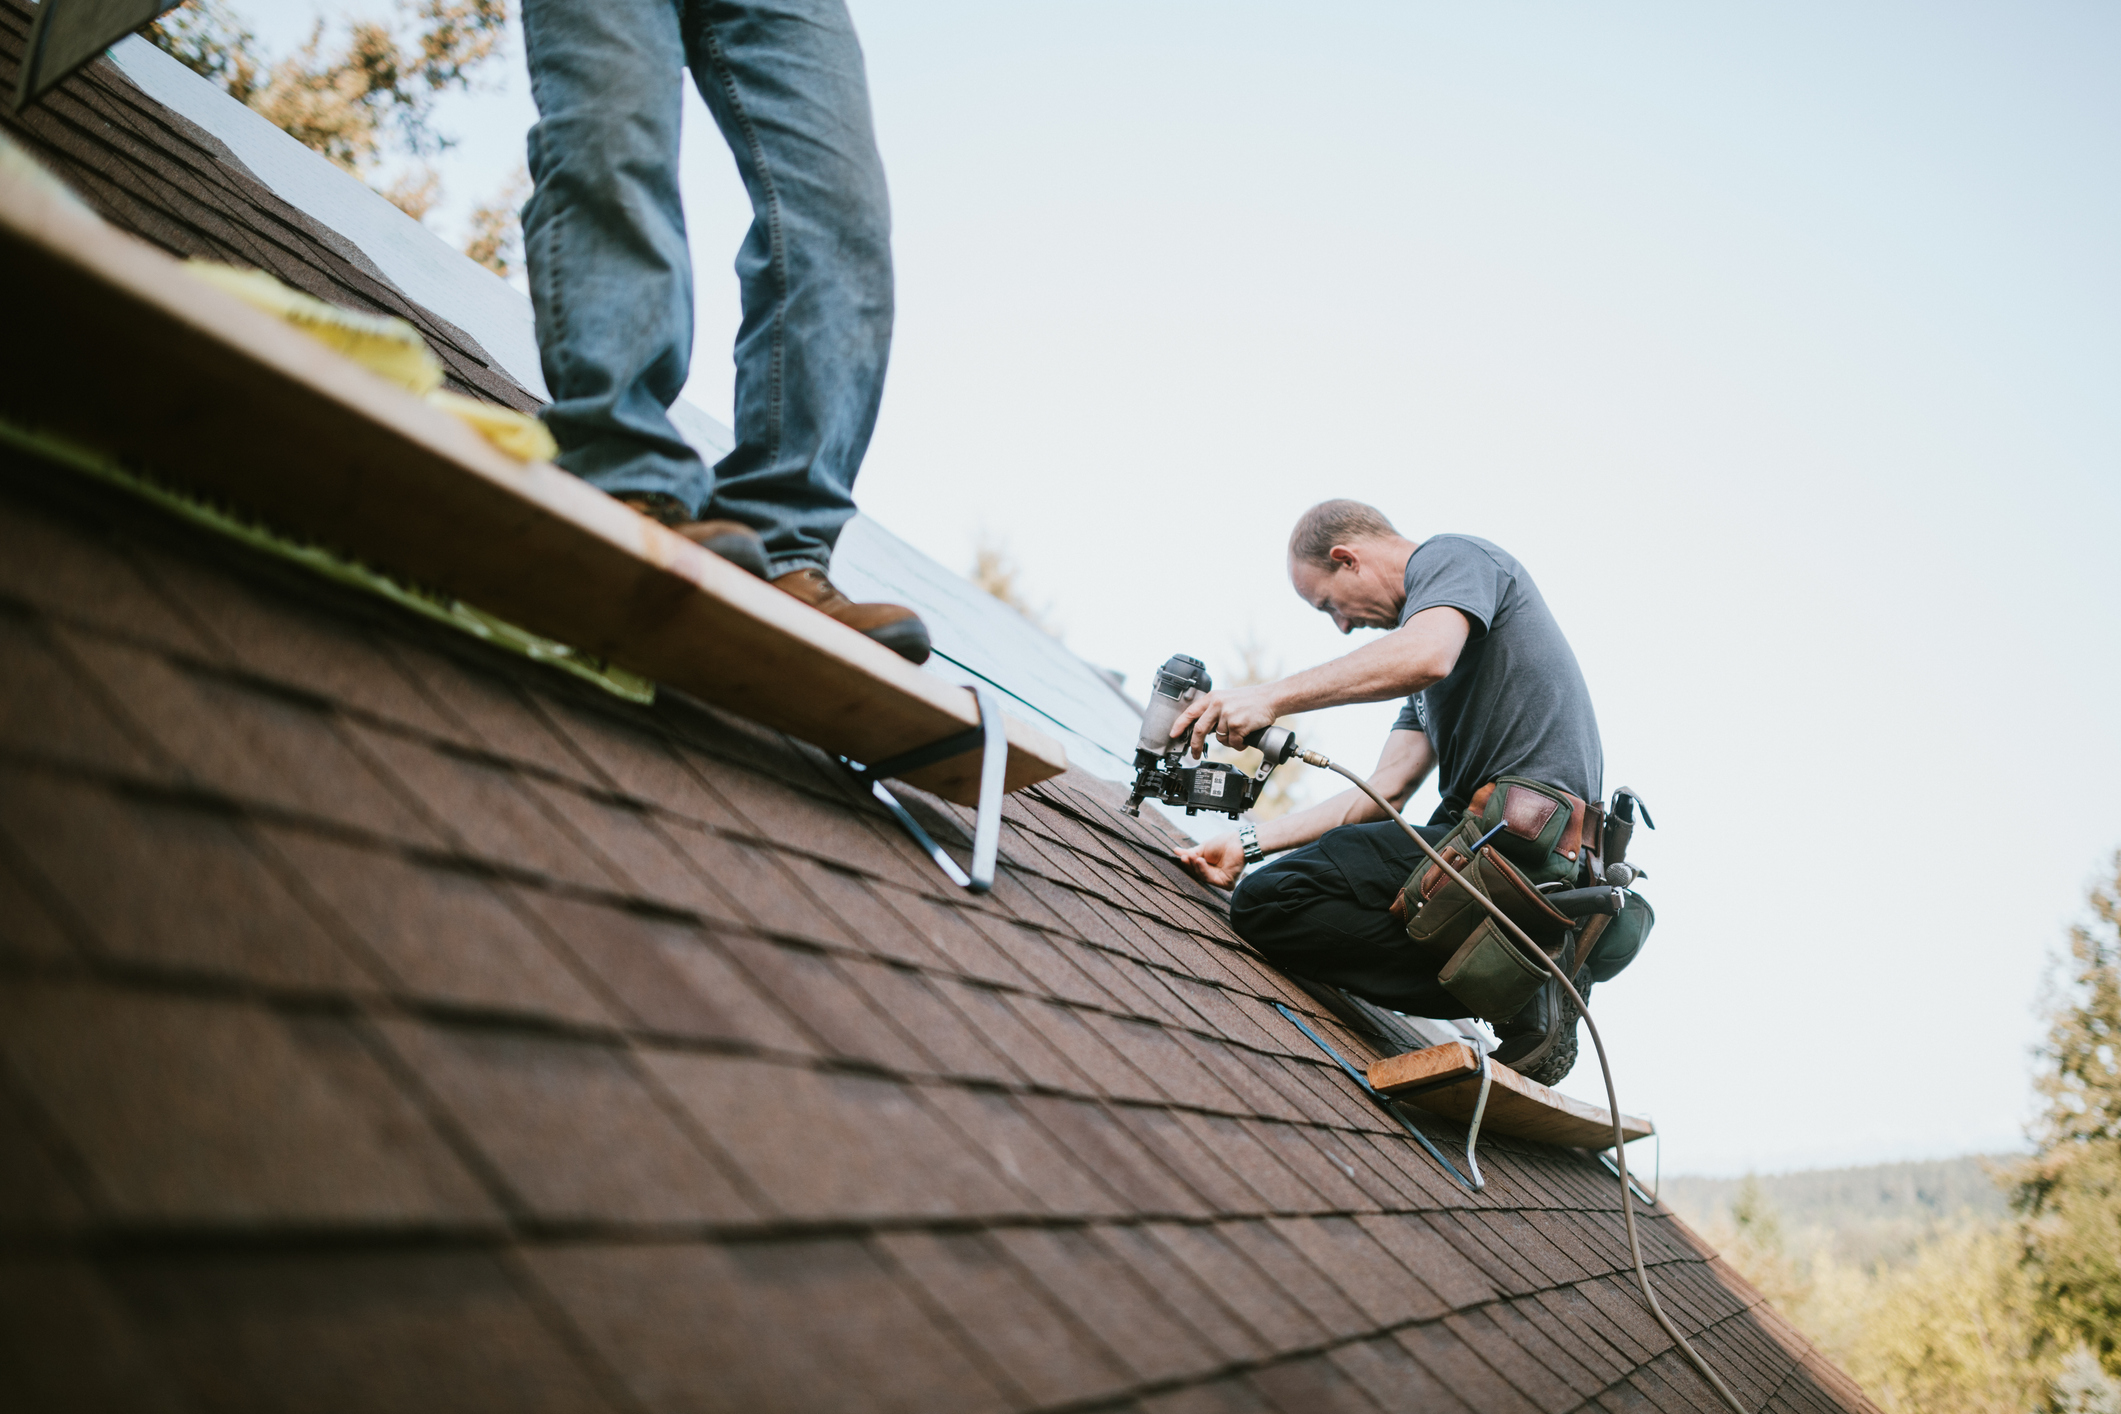
Installing Shingles
Now that the starter shingles are in place, the shingles are applied methodically in rows. They’re installed overlapping each other to create a waterproof barrier against rain. They’ll be secured to the roof using nails. This step can take a while, but it’s worth the extra time to get it right.
Capping the Ridge
When shingling a roof, roofers typically start from the bottom and work their way up to the top. Once they reach the top, they’ll cap the ridge. This is adding shingles to the very top peak of the roof. Typically, you’ll see they use special shingles for this purpose. These need longer nails to be secured, as they have to go through multiple layers of shingles.
Installing Flashing
Flashing is material that is installed over seams to protect them against water. This is installed in areas such as around your chimney and around vents in the roof. They allow for a tight seal and ensure no water can get in this way. Flashing will be done at this stage to protect your home thoroughly.
Sealing the Nails
Finally, the nails used on the roof must be sealed to protect them from the elements. There are many different sealants on the market, but if you’ve done your homework and found a trustworthy roofer, they should use a hybrid silicone-asphalt sealer. Silicone on its own will wear away in a few years, and asphalt-only sealants dry out. A hybrid gives you the best results.
Hiring a Reputable Roof Installation Contractor
There are a lot of steps to roofing your home, and you want to ensure that you get the best results. That means you’ll need to find a reputable roofing contractor in your area. Luckily, there are a few ways to do this. Ask around for recommendations, and look on trusted review sites like Angi, and the BBB, to see who’s a legitimate and well-thought roofer in your area. Roofing a home properly takes time, but when done right, that roof can last for decades. Now that you know the steps to roof your home, you can ensure you get the best roofer for your needs.